Turn a finished job into a professional PDF invoice in seconds — photos and documents included — then track payments and export tax-ready data.
Generating an Invoice
- Open the work order and tap Generate Invoice
- The Attach to Invoice screen appears — pick any repair photos or vehicle documents to include in the PDF (or tap Skip for a clean invoice)
- Preview the PDF, then share or save
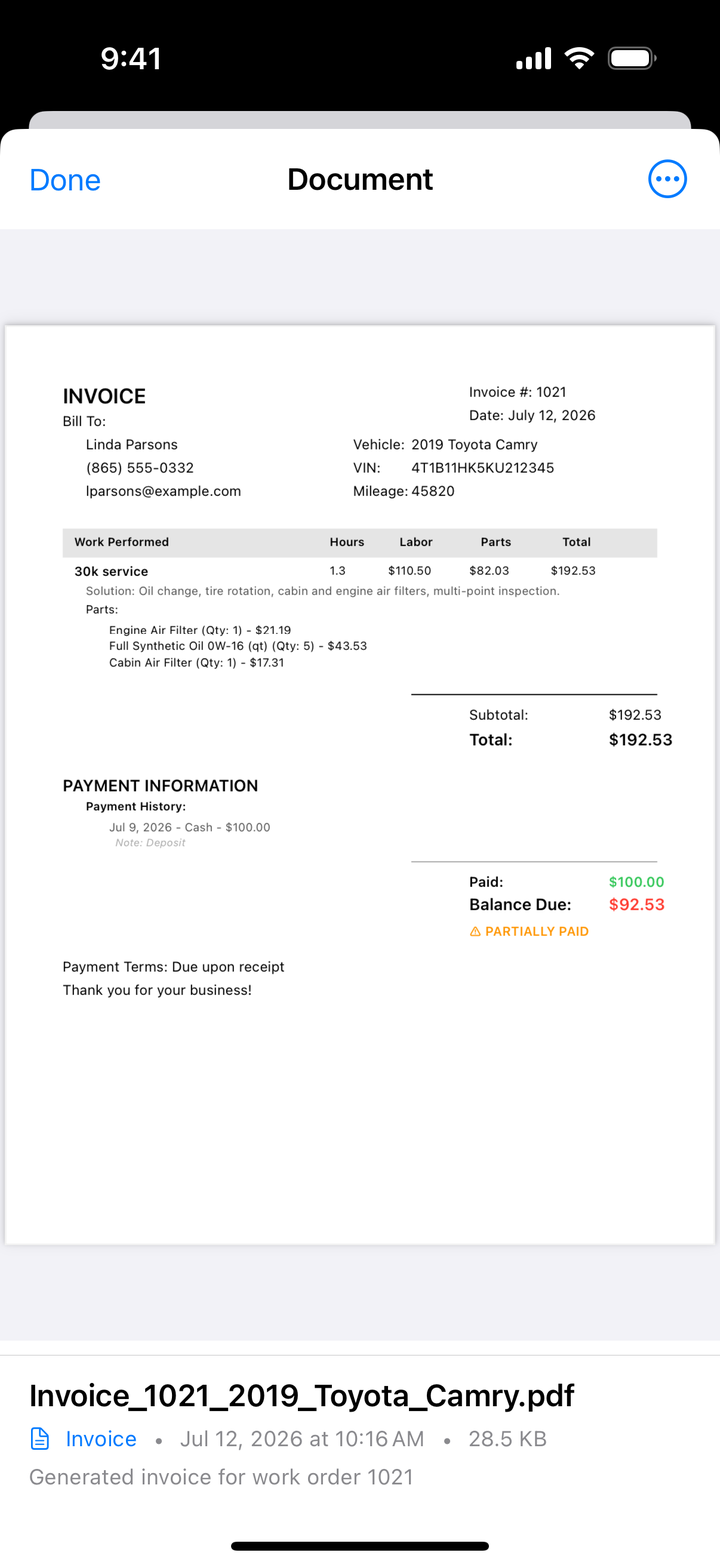
What’s on the Invoice
- Header — your company name, logo, address, and phone; invoice number and date
- Customer & vehicle — contact info, year/make/model, VIN, mileage
- Itemized repairs — each repair’s description, labor hours and cost, parts with prices, and subtotal
- Summary — labor total, parts total, tax, grand total, payments received, and balance due
- Attachments — any photos and documents you selected, appended to the PDF
The invoice number is the work order number, so your paperwork and the app always line up.
Your Branding
Set your company name, address, phone, and logo once in Settings → Company Information — it appears on every invoice.
Sharing an Invoice
After generating, tap Share and send it anywhere: Mail, Messages, AirDrop, Save to Files, or any app that accepts PDFs (Dropbox, Google Drive, and so on).
Recording Payments
- Open the work order and scroll to Payments
- Tap Add Payment — amount, date, and method (Cash, Check, Credit/Debit Card, or Other)
- Save — the balance due updates automatically
Partial payments are fine: add as many payments as it takes; the remaining balance is always current.
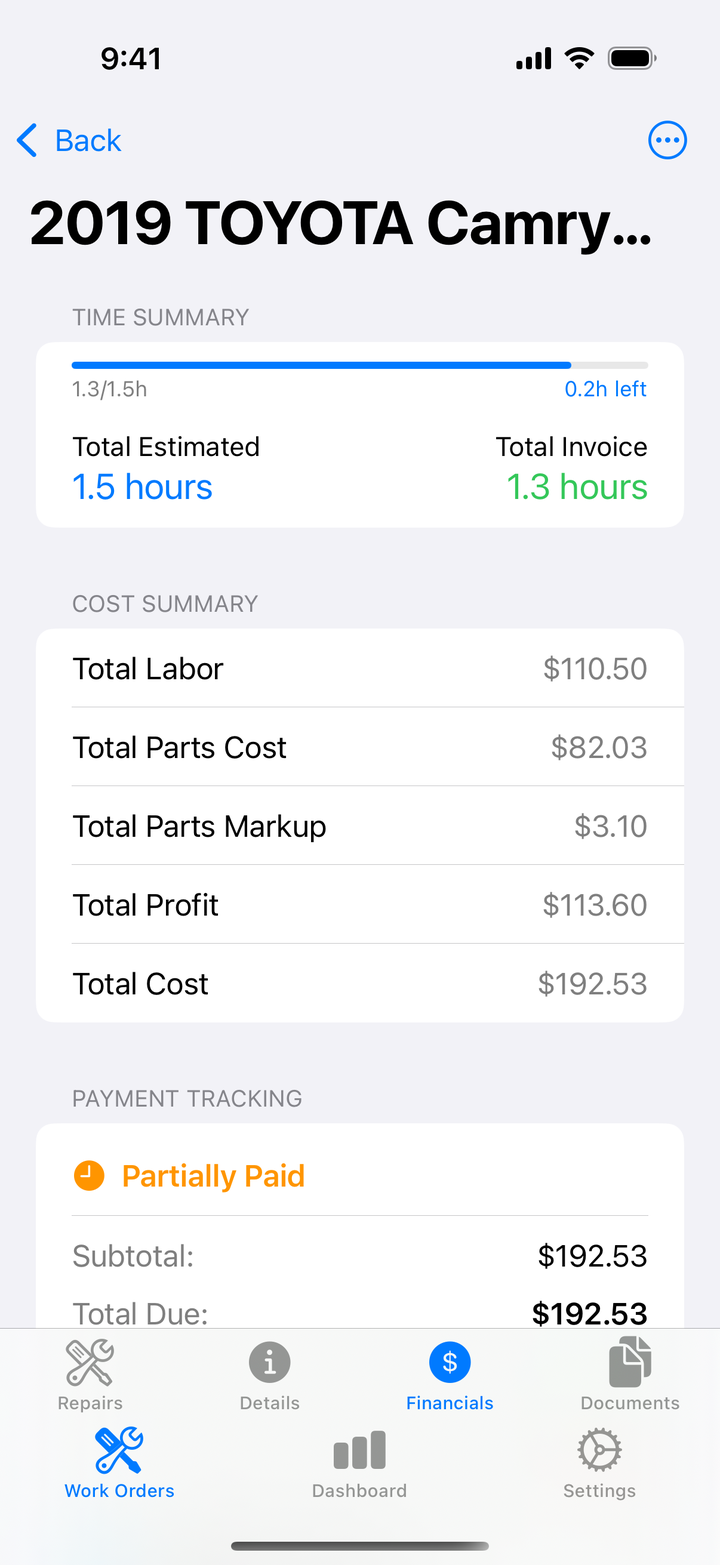
Nice touch: if you set a work order’s status to Payment Received while it still shows a balance, Side Wrench offers to record the payment right then — so “marked paid” and “actually recorded” never drift apart.
Tax & Business Export (Premium)
Export your financials to CSV for your accountant or tax software:
- Go to Settings → Data Management → Tax & Business Export
- Pick a date range: Current Year, Last Year, Current Quarter, Last Quarter, Last 30 Days, Last 90 Days, or a Custom Range
- Tap Export and share or save the CSV
What’s in the Export
One row per repair — date, work order, customer, vehicle, repair description, labor hours/rate/income, parts cost, markup and revenue, discounts and fees, total revenue, payments, balance due, and profit margin — followed by a summary section with your totals for the period, organized for Schedule C filing.
The file opens in Excel, Numbers, Google Sheets, or any spreadsheet app.
Backups: Export & Import All Data (Premium)
In the same Data Management section, Export All Data saves your complete database as a JSON file, and Import Data restores it — a portable backup that’s entirely in your hands.
Tips
- Set up company info before your first invoice — a logo makes it look like you
- Attach the photos — an invoice with before/after shots rarely gets argued with
- Email right away — faster invoicing means faster payment
- Export quarterly — don’t leave tax prep for April