Each work order can hold as many repairs as the job needs, and each repair tracks its own labor, parts, photos, and documents.
Adding a Repair
- Open a work order and tap Add Repair
- Enter the description — e.g., “Oil change and filter replacement”
- Enter estimated labor hours (what you’re quoting)
- Add notes if needed, then Save
What Each Repair Tracks
- Description — the work being performed
- Estimated hours — your quote
- Actual hours — from the timer or entered manually
- Labor cost — hours × your labor rate
- Parts — with quantity, cost, markup, and supplier
- Photos & documents — before/after shots, receipts, inspection sheets
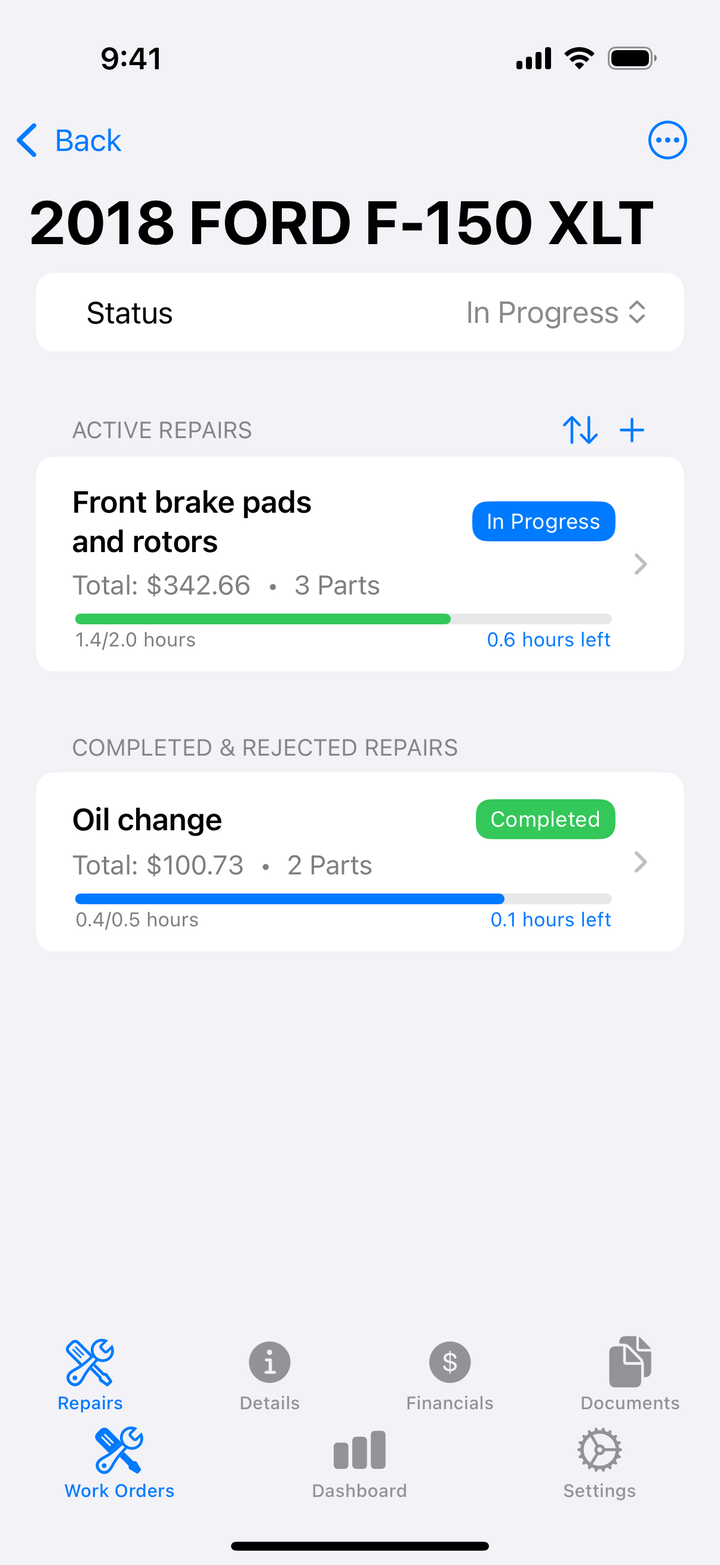
Example: A Full Service Visit
One customer, one work order, three repairs — each tracked separately, totals combined automatically:
- Oil change — 0.5 hr labor, oil and filter
- Brake pad replacement — 1.5 hr labor, pads and rotors
- Battery replacement — 0.3 hr labor, battery
Adding Parts
- Open the repair and tap Add Part
- Enter the part name, quantity, and your cost per unit
- Optionally add the supplier and purchase date
- Your markup is applied automatically — Save
How Markup Works
Your markup (set in Settings) applies to every part automatically:
- 30% markup: your cost $50.00 → customer price $65.00
- Fixed $10 markup: your cost $50.00 → customer price $60.00
You see both numbers, so your parts profit on the job is never a mystery.
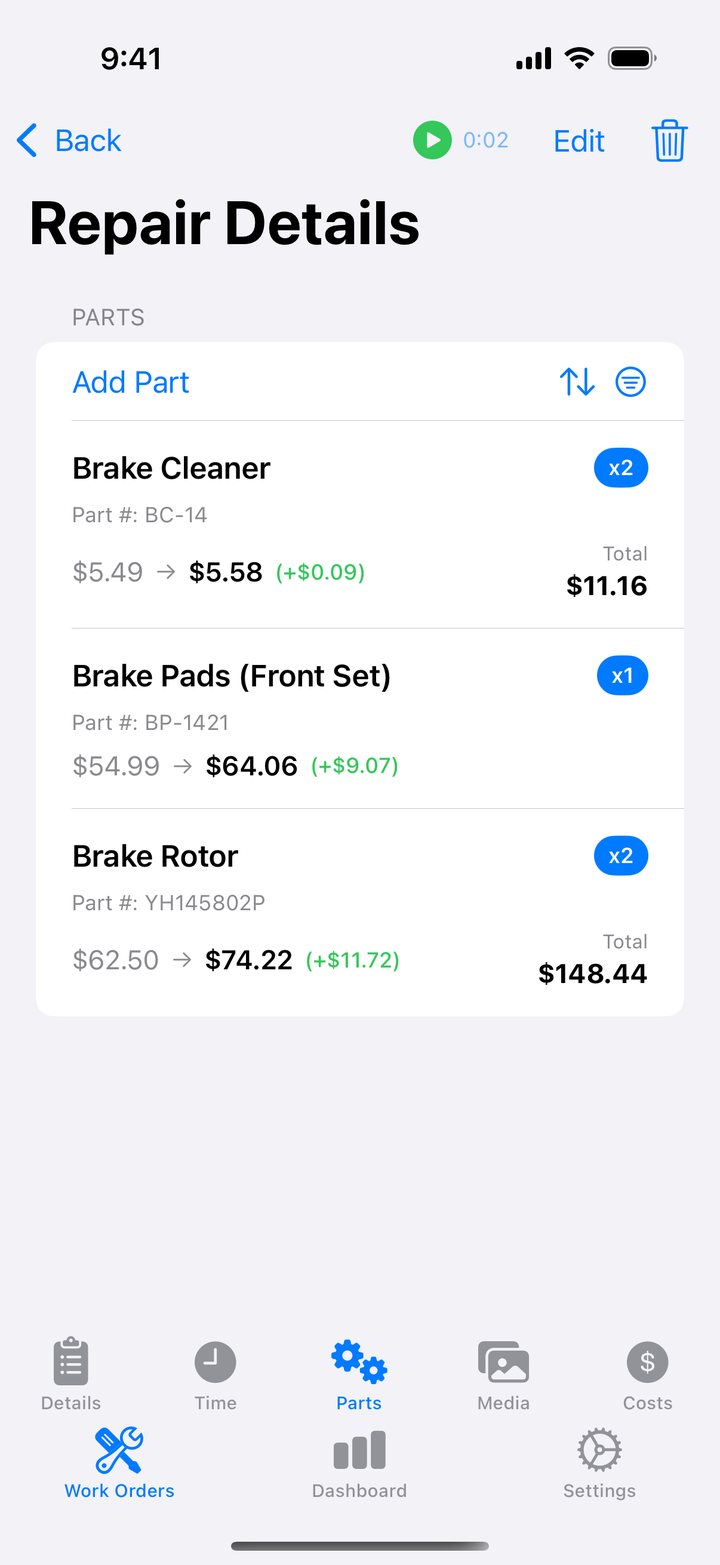
Sorting and Filtering the Parts List
On repairs with lots of parts, use the sort button (up/down arrows) to order by:
- Name (A→Z or Z→A)
- Total (high→low or low→high)
- Quantity (high→low or low→high)
- Purchase date (newest or oldest)
If your parts have suppliers, a filter button appears too — filter the list down to a single supplier, handy when you’re checking an order against a receipt.
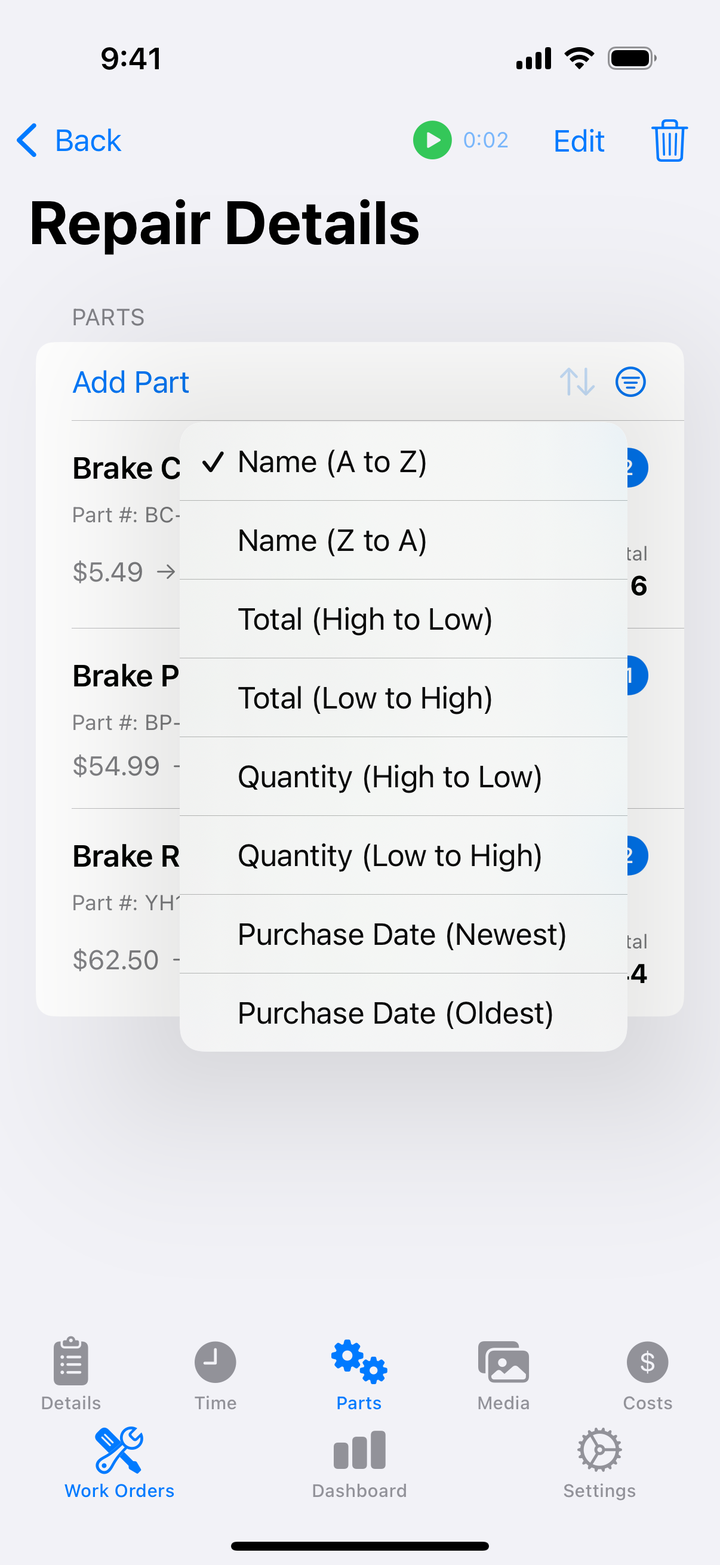
Photos and Documents
Attach photos to any repair — before/after shots, damage documentation, part condition. Add captions, and rearrange them in the order you want. Vehicle documents (receipts, inspection sheets, anything PDF) attach at the work order level.
On iPad: drag images from Photos or Files and drop them straight onto a repair’s photo section. Drop a PDF (or an image) onto the documents area and it’s filed with the vehicle. Photos and documents can also be attached to the customer’s invoice when you generate it.
Labor Hours
Side Wrench tracks estimated vs. actual hours on every repair. Run the built-in timer (see the Timer guide) or tap the actual-hours field and type the time. Comparing the two tells you whether your quotes are on target.
How Totals Are Calculated
Labor cost   = actual hours × labor rate
Parts price  = (cost × quantity) + markup
Repair total = labor + parts

Work order subtotal = sum of repair totals
Tax   = subtotal × your tax rate
Total = subtotal + tax
The work order’s Financials section shows the full breakdown: labor, parts, tax, payments received, and balance due.
Tips
- Be specific in descriptions — they end up on the customer’s invoice
- Add parts as you use them — don’t reconstruct the job from memory at the end
- Record the supplier — makes warranty claims and reorders painless
- Photograph everything — before/after photos end disputes before they start